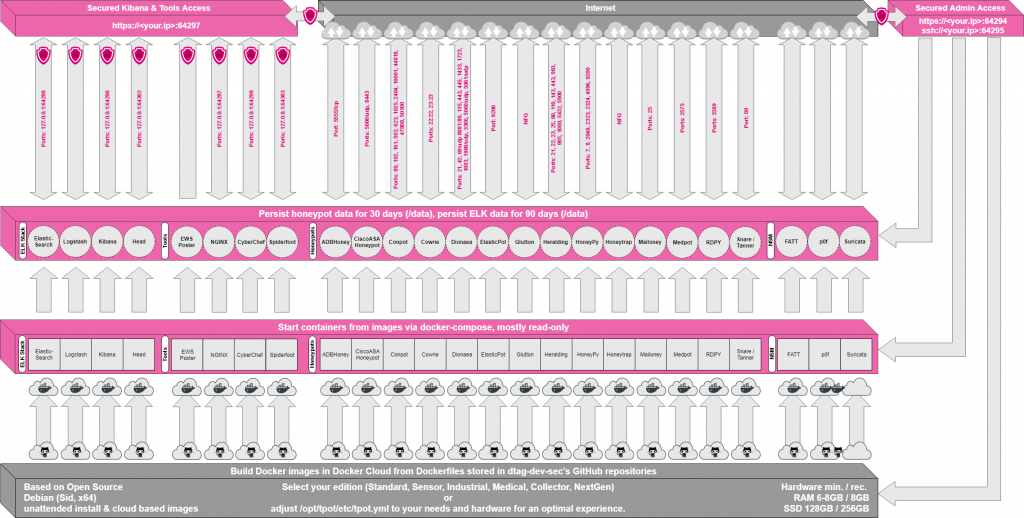
The T-Pot honeypot system is a multiuse honeypot framework deploying a range of protocol specific docker containers emulating common exploitable services. The T-Pot framework gathers all the logs from each container and centralises into an elastic stack providing the administrator a front-end view of all attacks against each service. Samples of malware are also captured providing the ability to further analyse the attacks. The T-Pot framework architecture can be illustrated as per below.
T-Pot framework can be found at: https://github.com/dtag-dev-sec/tpotce . This guide provides a step by step guide to create a virtual machine on the Google Cloud Platform and install a standard edition of the T-Pot Framework. If you are a new user to GCP you can sign up at: https://cloud.google.com/ , GCP currently offer $300 worth of credit to use within a year free during registration.
Virtual Machine Provisioning
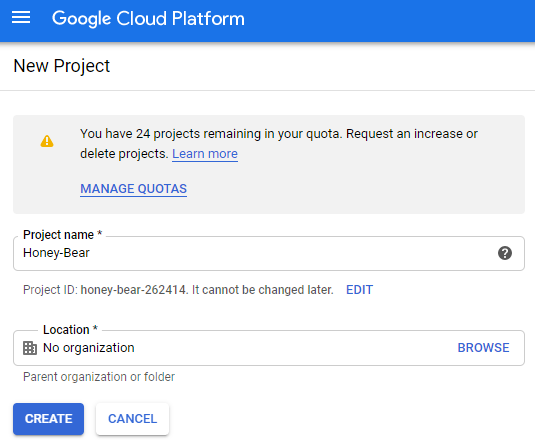
Once signed into GCP create a new project, this project container will be used to store the virtual machine and firewall rules into.
Once the project container has been created navigate to Compute -> Compute Engine -> VM Instances and click “Create” to start to build a virtual machine.

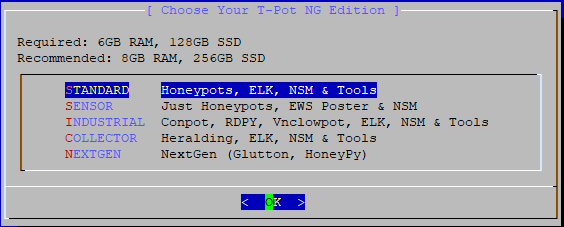
To cater for most installations this guide will select the standard installation and following the recommended system requirements of:
- 128 GB Storage
- 8 GB RAM
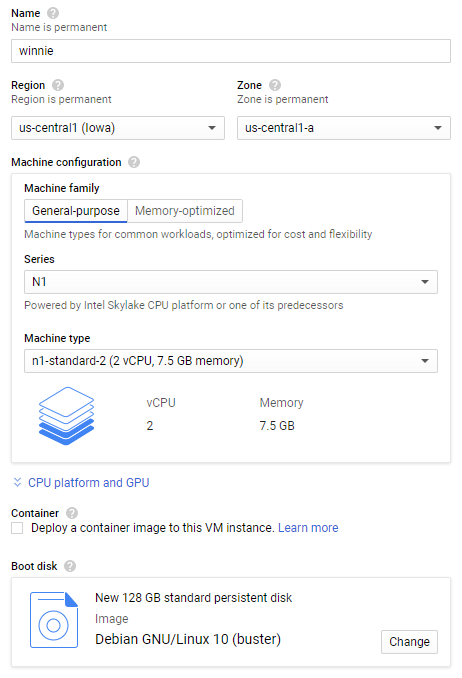
Creating a virtual machine in GCP is simple, select to use the standard template “N1-standard-2” to provision roughly the amount of processing power to host the T-Pot framework. A change to the default disk space of 10Gb to 128GB and select Debian 10 as the boot image completes the provision of the virtual machine. Press “Create” to complete the process.
Once created the virtual machine will be built by GCP and appear in the VM instances section. Here the zone and external IP address are displayed along with the health status of the virtual machine.

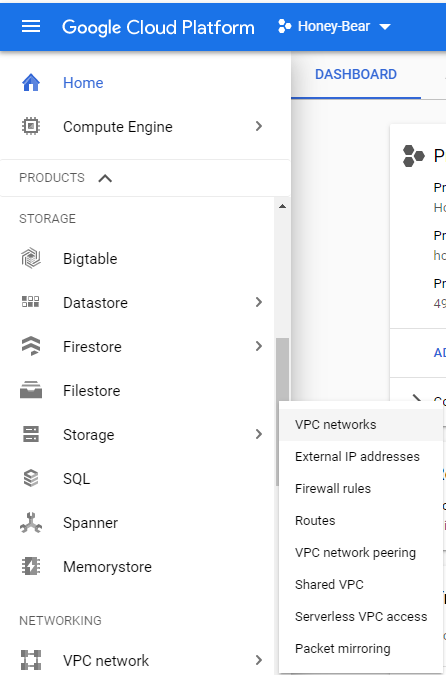
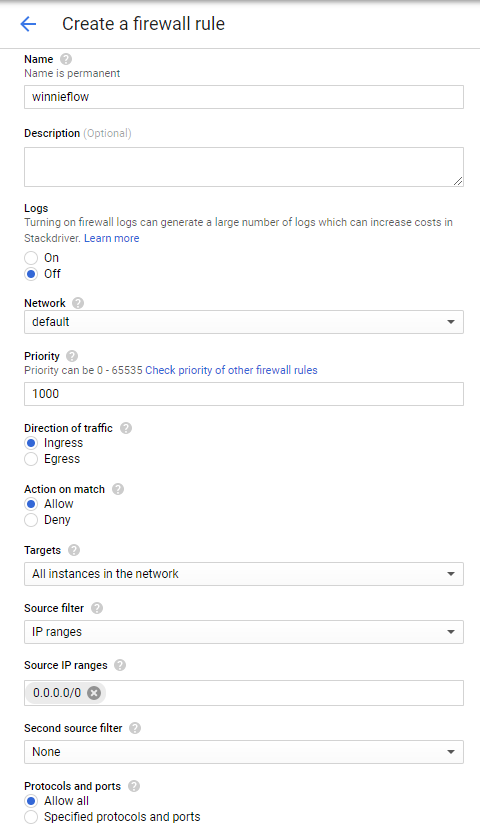
Before connecting to the new virtual machine, a firewall rule will need to be opened to allow for all the honeypot ports to be accessible from the internet. Navigate to Networking -> VPC Network -> Firewall rules.
Click “Create Firewall Rule”, provide a name and allow all IP addresses to come in. Its up to the reader if they want to lock down on the certain ports but for demonstration, I will allow all ports inbound.
Installing T-Pot Framework
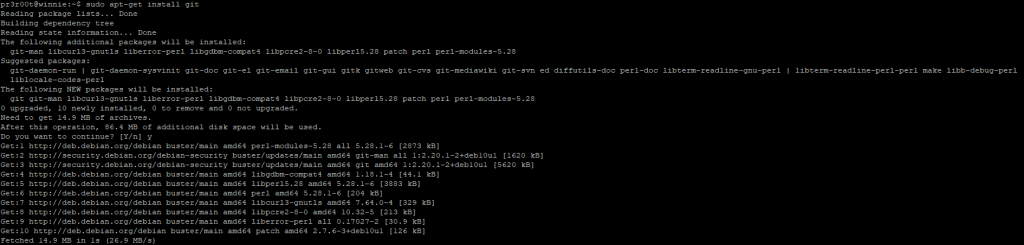
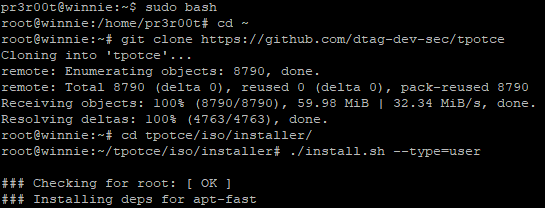
Click SSH to connect to the machine. A fully functional Debian 10 virtual machine is now deployed and managed within the GCP, now for the installation of the T-Pot framework. The framework will install all our dependences automatically including docker. In order to get T-Pot a copy of the Github source code must be downloaded. As Debian is not pre packaged with git, a quick apt-get can get us the package.
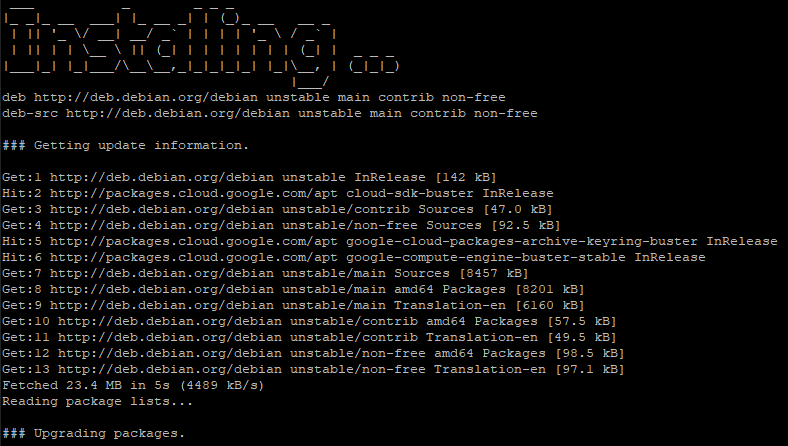
Executing the download and installation commands will start the T-Pot installation off.
Once packages have been downloaded a review of the running listening ports are displayed, as this is a new server continue by pressing “y”. Continuing presents a screen of the different setups of how to deploy T-Pot, as discussed in the introduction continue to select “standard”.
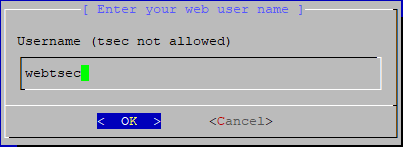
Following the edition panel, a panel requiring a web front end username is requested.
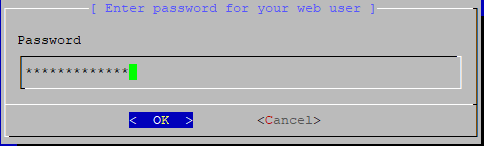
A password will also be required for the new web user. Ensure the password is complex as the frontend dashboard is accessible from anyone on the internet.
One the account has been defined the installation will continue and more packages will be installed.
Once the packages have been installed T-Pot will start to build itself.

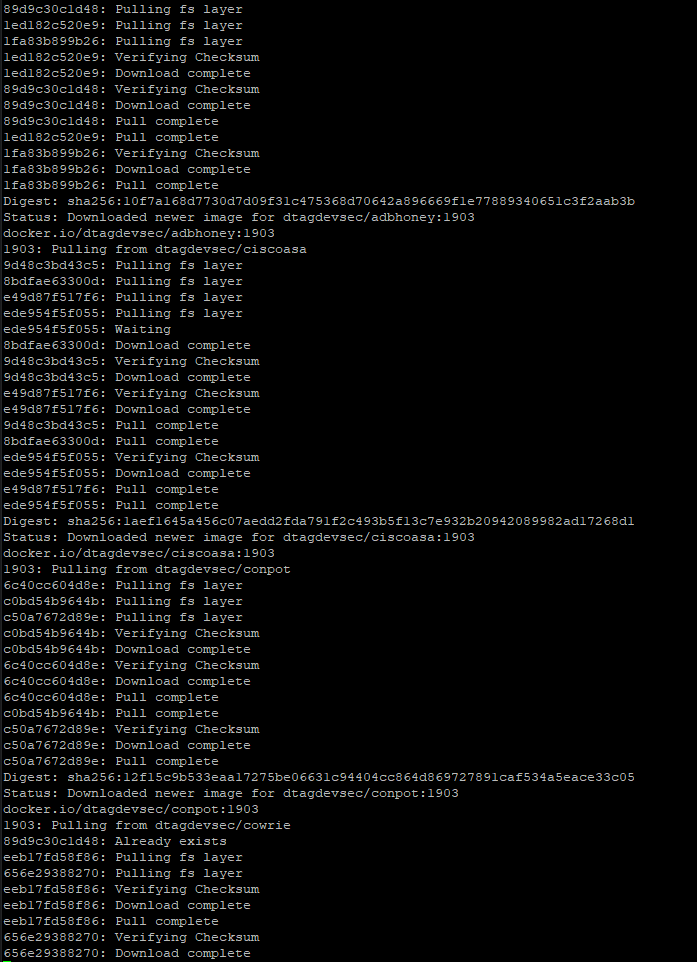
Following this the Docker images of the honeypots will start to be pulled and installed.
Finally, the system will clean up and reboot.
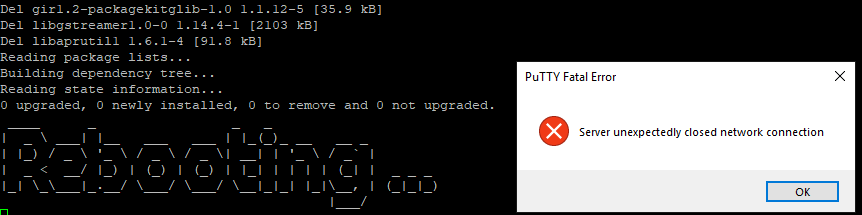
In order to remote access the server the SSH port has been moved from 22 to 64295. Once connected again via the console or SSH, check the status of the containers these are the honey pots.
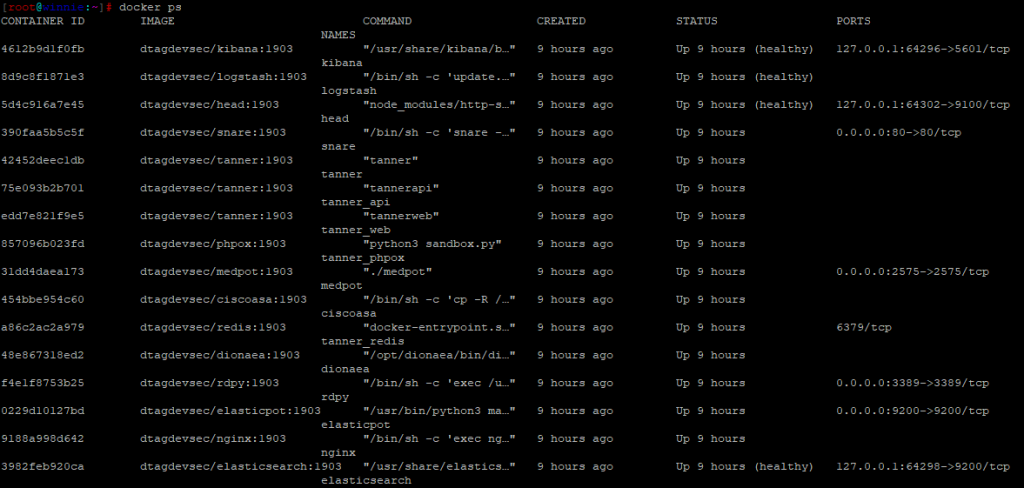
Configuration changes to the honeypots can be changed at the folder: /opt/tpot/docker . However, for demonstration I will not be changing them. All malware samples and logs are stored within /data/ within their respective honeypot.
Accessing the T-Pot Honeypot Framework
Now the honeypots are set up, lets look at the front-end portal. This can be found at https://<external IP address>:64297 . Log in with the Webtsec account created during the setup.
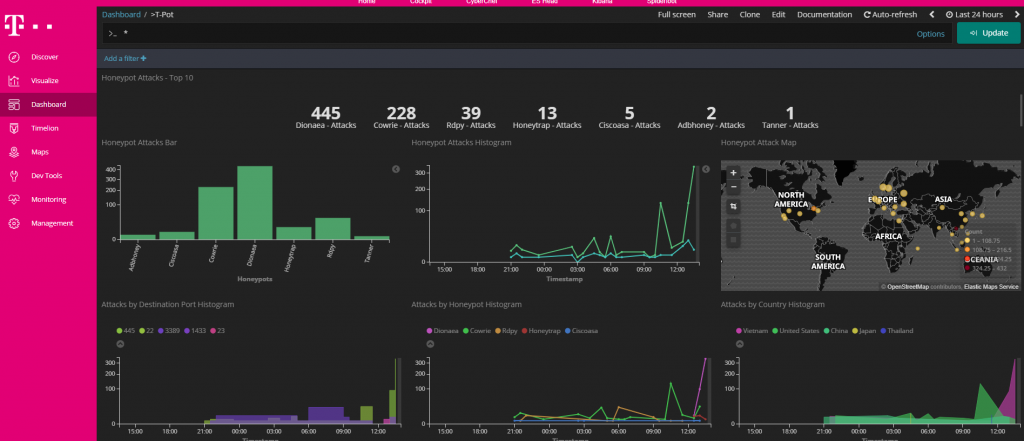
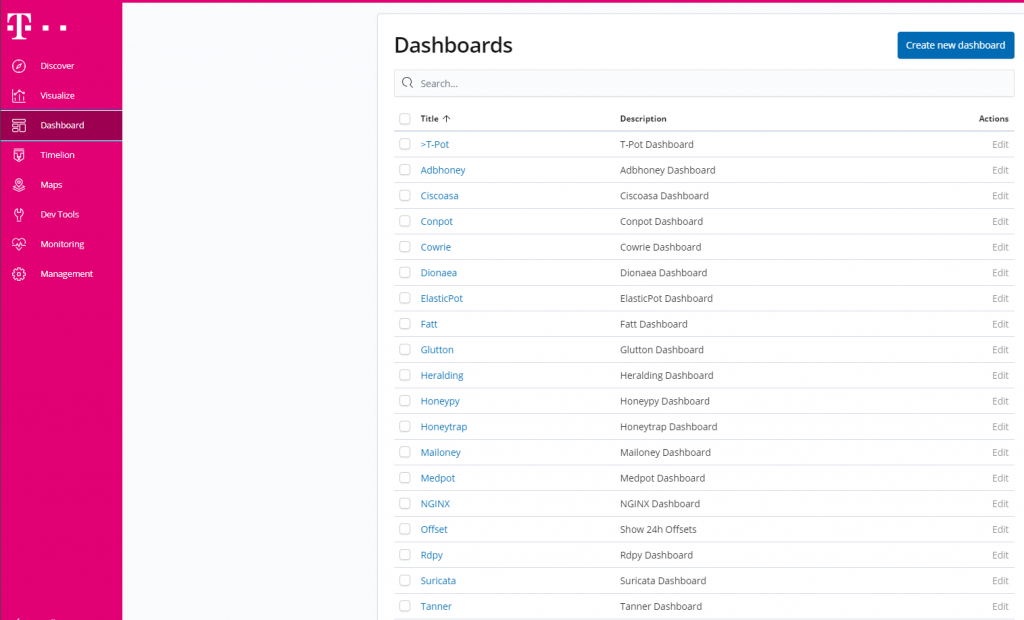
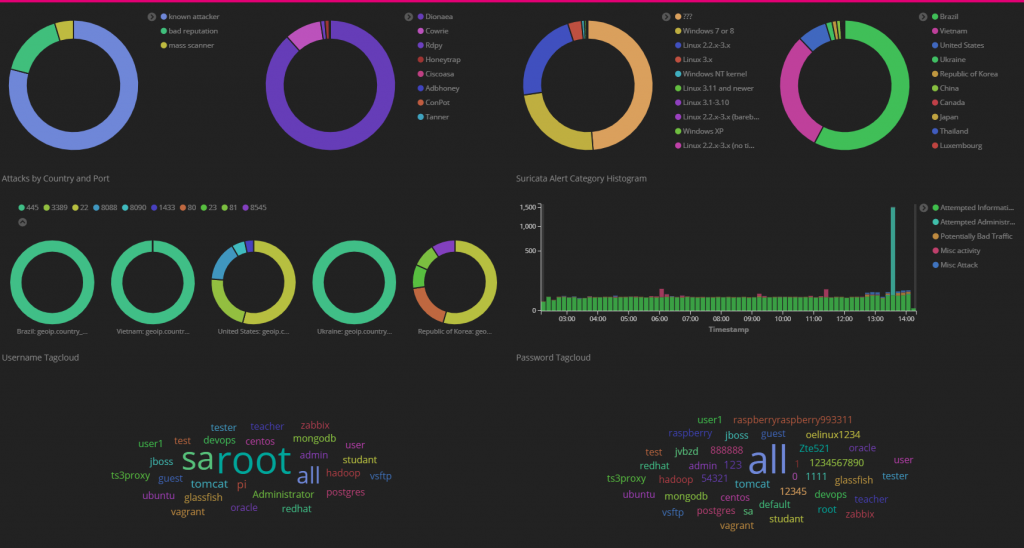
By selecting “dashboard” on the menu, global view dashboards and honeypot specific dashboards can be viewed. New dashboards can also be created here.
The “T-Pot” dashboard contains information grouping all the attacks into different views such as port number or country. This Dashboard can also be used to track common usernames and passwords used in brute forces.
T-Pot also packages a web GUI driven management console, this can used to manage the Virtual server and the docker images. To access this page first create an account on the virtual machine and then navigate to https://<external IP address>:64294 and log in.

Closing Thoughts
The T-Pot framework provides a excellent single package to start to monitor real life attacks in real time on a range of different services. The front end dashboards provide a great correlated and structured method of seeking patterns within the attacks and build visually and powerful views of the front line of the internet.
Reach out to me via twitter @PR3R00T for any feedback or questions